Introduction
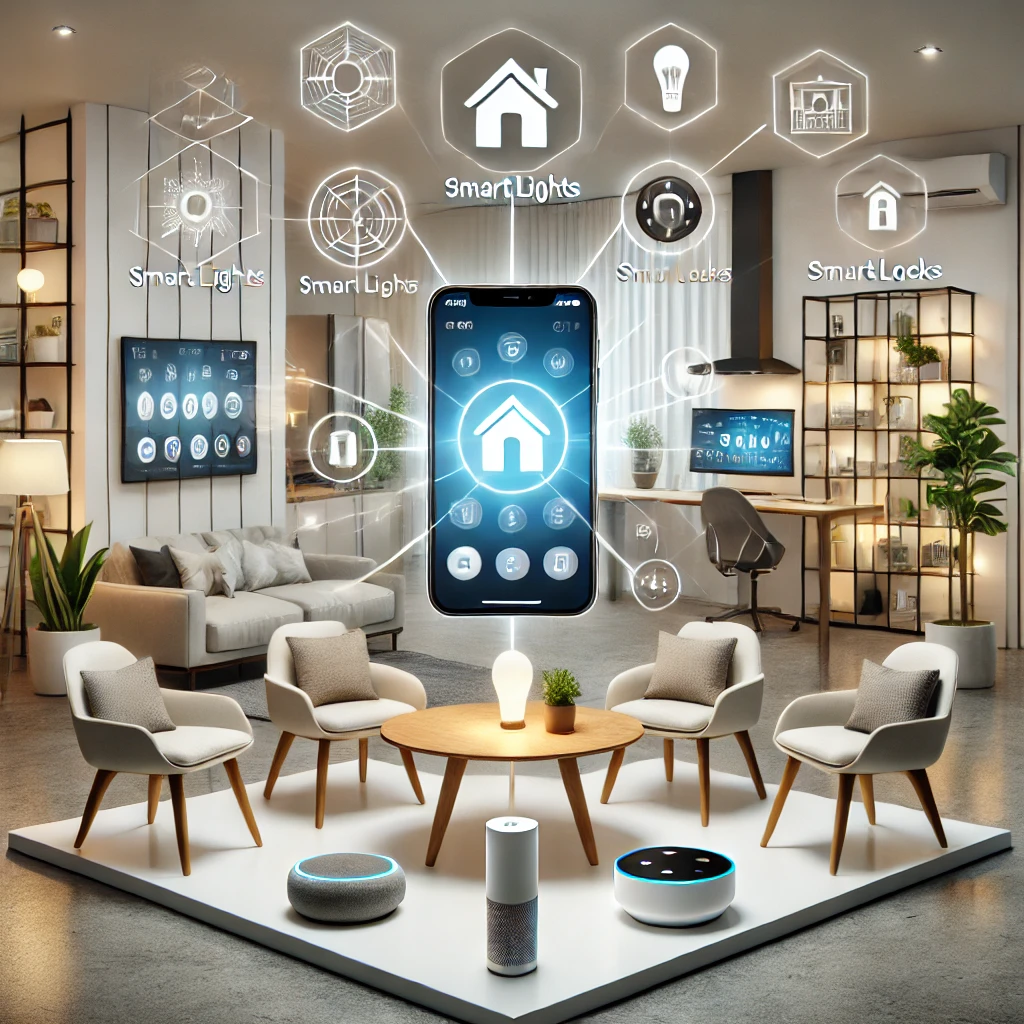
Welcome to the exciting world of DIY home automation! Imagine controlling your lights, thermostat, security system, and even your coffee maker with just a few taps on your smartphone or a simple voice command. The concept of a smart home has evolved from science fiction to reality, making it possible for anyone to transform their living space into a futuristic, automated haven.
The trend of smart homes is growing rapidly, driven by advancements in technology and an increasing desire for convenience, security, and energy efficiency. Home automation offers numerous benefits, including the ability to remotely control devices, automate routine tasks, enhance home security, and save on energy costs. Whether you want to create a more comfortable living environment, improve your home’s security, or simply enjoy the convenience of automation, this guide is for you.
This comprehensive guide is designed for beginners who are eager to embark on their DIY home automation journey. We’ll cover everything from the basics of home automation to choosing the right starter kit, setting up your system, and exploring some fun DIY projects. Let’s dive in!
What is Home Automation?
Definition and Basic Principles
Home automation refers to the use of technology to control and automate household systems and devices. This can include lighting, heating, ventilation, air conditioning (HVAC), security systems, appliances, and entertainment systems. Home automation systems can be controlled through various interfaces, such as smartphone apps, voice commands, remote controls, or centralized control panels.
The basic principles of home automation revolve around three key concepts:
- Connectivity: Devices and systems are connected to a central hub or platform, allowing them to communicate and work together.
- Automation: Tasks are automated based on predefined rules or schedules, reducing the need for manual intervention.
- Control: Users have the ability to monitor and control their home systems remotely, providing convenience and flexibility.
Benefits of Home Automation
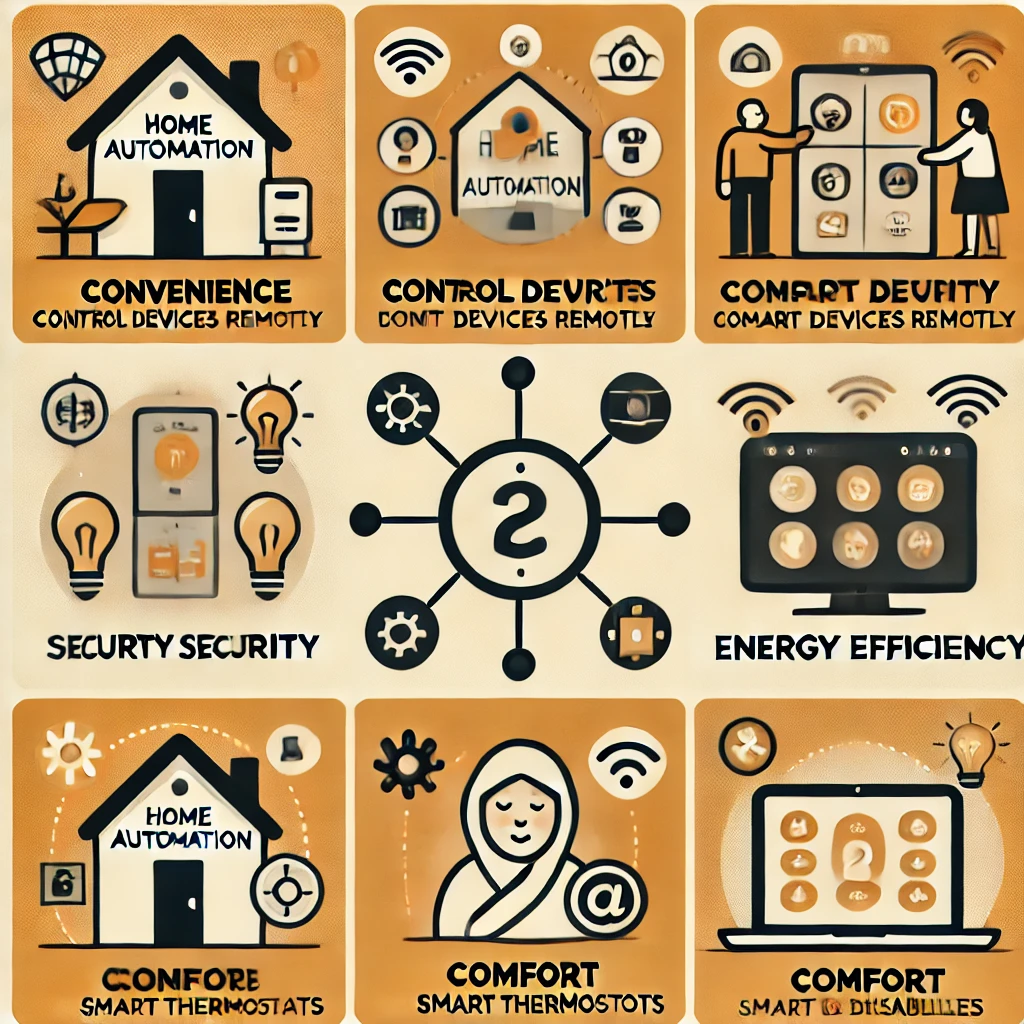
Automating different aspects of your home can bring numerous benefits:
- Convenience: Control your home’s lighting, temperature, and appliances from anywhere using your smartphone or voice commands.
- Security: Enhance your home’s security with smart locks, cameras, and sensors that can alert you to unusual activity.
- Energy Efficiency: Save on energy costs by automating your HVAC system and lighting based on occupancy and time of day.
- Comfort: Create a more comfortable living environment with personalized settings for lighting, temperature, and entertainment.
- Accessibility: Assist elderly or disabled individuals by automating tasks and providing easy-to-use control interfaces.
DIY vs. Professional Installations
When it comes to home automation, you have two main options: DIY (Do It Yourself) or professional installations. Each approach has its own advantages and considerations.
- DIY Home Automation: This approach allows you to customize your smart home setup according to your preferences and budget. It’s generally more cost-effective and gives you the flexibility to start small and expand over time. However, it requires a certain level of technical knowledge and hands-on effort.
- Professional Installations: Hiring professionals to install and configure your home automation system ensures a seamless and reliable setup. It’s ideal for complex installations and those who prefer a hands-off approach. However, it can be more expensive and may limit your ability to customize and expand the system independently.
Getting Started with DIY Home Automation

Essential Components and Tools
Before diving into DIY home automation, it’s important to understand the essential components and tools you’ll need:
- Smart Home Hub: The central device that connects and controls all your smart devices. Popular options include Amazon Echo (Alexa), Google Nest Hub, and Apple HomePod (HomeKit).
- Smart Devices: These are the individual devices you’ll be automating, such as smart lights, thermostats, locks, cameras, and speakers.
- Smartphone or Tablet: A device to install and use the necessary apps for controlling your smart home system.
- Wi-Fi Router: A strong and reliable Wi-Fi network is crucial for connecting your smart devices to the internet.
- Tools: Basic tools like screwdrivers, a drill, and possibly some wiring tools, depending on the devices you’re installing.
Overview of Smart Home Devices
Here’s a brief overview of some common types of smart home devices:
- Smart Lights: LED bulbs or light switches that can be controlled remotely and set on schedules or activated by sensors.
- Smart Thermostats: Devices that allow you to control your home’s temperature remotely and set energy-saving schedules.
- Smart Locks: Keyless entry systems that can be controlled remotely, providing enhanced security and convenience.
- Smart Speakers: Voice-activated devices like Amazon Echo or Google Nest that can control other smart devices and provide information.
- Smart Cameras: Security cameras that allow you to monitor your home remotely and receive alerts for any suspicious activity.
Choosing the Right Smart Home Starter Kit
Tips for Selecting a Starter Kit
Choosing the right smart home starter kit is crucial for a smooth and enjoyable DIY home automation experience. Here are some tips to help you select the best kit for your needs:
- Identify Your Goals: Determine what you want to achieve with your smart home setup. Are you focusing on security, energy efficiency, or overall convenience?
- Budget: Set a budget for your smart home project. Starter kits vary in price, so it’s important to find one that fits your budget without compromising on essential features.
- Compatibility: Ensure that the devices in the starter kit are compatible with your preferred smart home platform (e.g., Alexa, Google Home, Apple HomeKit).
- Ease of Installation: Look for kits that are easy to install and come with clear instructions. This is especially important for beginners.
- Expandability: Choose a starter kit that allows for future expansion. As you become more comfortable with home automation, you may want to add more devices to your system.
Recommended Starter Kits
To help you get started, here are some recommended smart home starter kits available on Amazon:
These kits typically include a smart home hub, a few smart devices (such as lights, plugs, and sensors), and instructions for setup.
Step-by-Step Guide to Setting Up Your DIY Smart Home
Setting Up a Basic Smart Home System
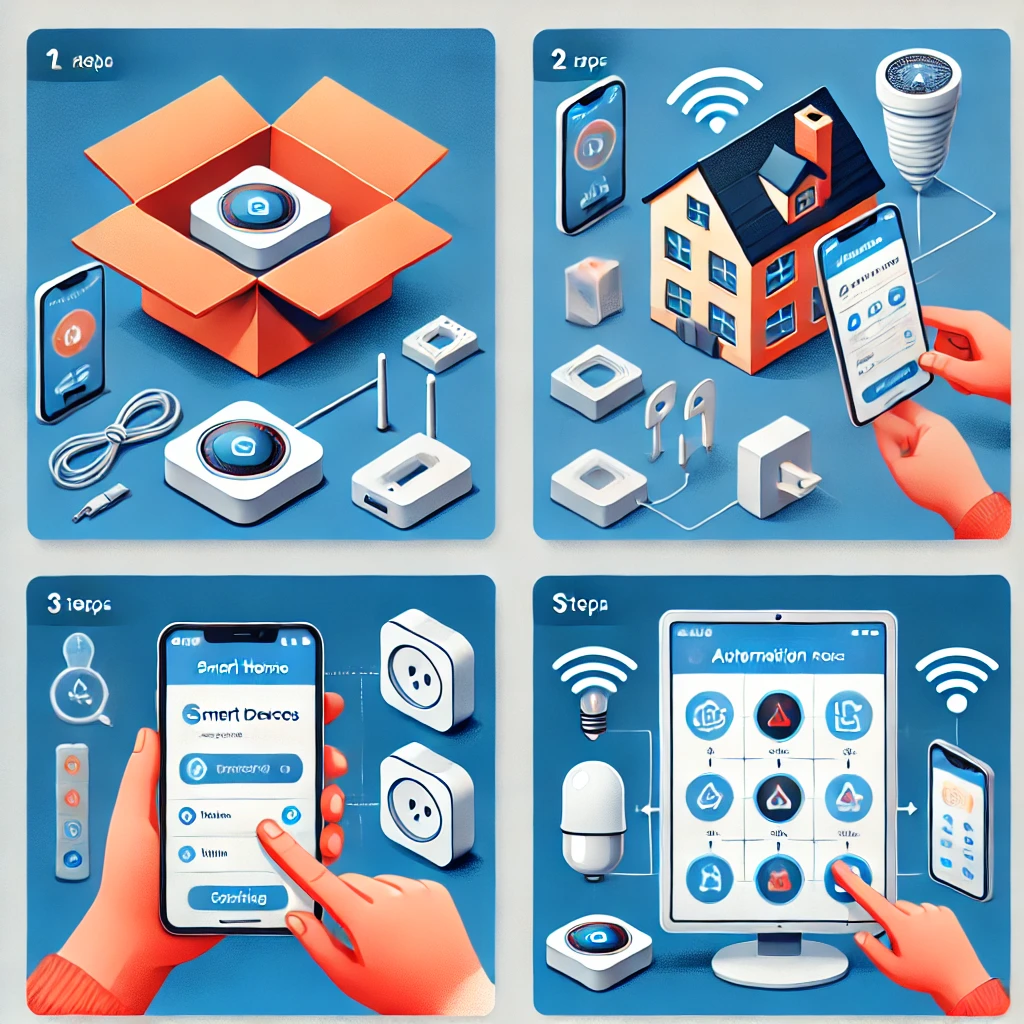
- Unbox and Inspect Your Devices: Start by unboxing your smart home starter kit and inspecting all the components to ensure nothing is missing or damaged.
- Set Up the Smart Home Hub: Follow the manufacturer’s instructions to set up your smart home hub. This usually involves plugging it in, connecting it to your Wi-Fi network, and downloading the corresponding app on your smartphone.
- Connect Smart Devices: Using the app, follow the instructions to connect each smart device to your hub. This process varies depending on the device but typically involves powering the device, putting it into pairing mode, and adding it through the app.
- Create Automation Rules: Once all your devices are connected, you can create automation rules and schedules. For example, you can set your lights to turn on at sunset or your thermostat to adjust the temperature based on your daily routine.
- Test Your Setup: Test each device and automation rule to ensure everything is working as expected. Make any necessary adjustments to improve performance and reliability.
Troubleshooting Common Issues
Setting up a smart home system can sometimes come with challenges. Here are some common issues and troubleshooting tips:
- Connectivity Issues: Ensure your devices are within range of your Wi-Fi router and that your network is stable. Restart your router and devices if needed.
- Device Pairing Problems: Make sure the device is in pairing mode and that you’re following the correct steps. Reset the device and try again if necessary.
- Automation Rules Not Working: Double-check your automation rules and schedules in the app. Ensure that the conditions and triggers are set correctly.
Popular DIY Home Automation Projects
Simple DIY Projects for Beginners
Here are some popular DIY home automation projects that are perfect for beginners:
- Automated Lighting: Set up smart lights that can be controlled remotely or set on schedules. For example, you can automate your living room lights to turn on at sunset and off at bedtime.
- Smart Thermostat Schedule: Install a smart thermostat and create a schedule that adjusts the temperature based on your daily routine. This can help save energy and improve comfort.
- Smart Security Camera: Install a smart security camera at your front door to monitor activity and receive alerts for any suspicious movements.
Step-by-Step Instructions
Project 1: Automated Lighting
- Install Smart Bulbs: Replace your existing light bulbs with smart bulbs. Follow the manufacturer’s instructions for installation.
- Pair with Hub: Use the app to pair the smart bulbs with your smart home hub.
- Create Schedules: Set up schedules in the app to automate your lighting based on time of day or occupancy.
Project 2: Smart Thermostat
- Turn Off Power: Turn off the power to your existing thermostat at the breaker.
- Remove Old Thermostat: Carefully remove your old thermostat and take note of the wiring.
- Install Smart Thermostat: Follow the manufacturer’s instructions to install and wire the new smart thermostat.
- Pair with Hub: Pair the thermostat with your smart home hub using the app.
- Set Schedules: Create temperature schedules in the app to optimize energy use and comfort.
Tips for Expanding Your Smart Home
Gradual Expansion
As you become more comfortable with DIY home automation, you may want to expand your system with additional devices. Here are some tips for gradual expansion:
- Start Small: Begin with a few essential devices and gradually add more as you gain confidence and experience.
- Research Compatibility: Ensure new devices are compatible with your existing smart home hub and platform.
- Prioritize Needs: Focus on areas where automation can bring the most benefit, such as security, energy efficiency, or convenience.
Maintenance and Updates
Maintaining and updating your smart home system is important for ensuring optimal performance and security:
- Regular Updates: Keep your smart home hub and devices updated with the latest firmware and software to improve functionality and security.
- Routine Maintenance: Regularly check your devices for any issues and perform necessary maintenance, such as replacing batteries or cleaning sensors.
- Review Automation Rules: Periodically review and adjust your automation rules and schedules to ensure they continue to meet your needs.
Conclusion
DIY home automation offers a fantastic opportunity to enhance your home’s convenience, security, and energy efficiency. By following this beginner’s guide, you can confidently embark on your smart home journey and enjoy the benefits of a more connected and automated living space.
Remember, starting small and gradually expanding your system is key to a successful DIY home automation experience. Don’t hesitate to explore new devices and projects as you become more comfortable with the technology.
Ready to get started? Check out our recommended smart home starter kits on Amazon and begin transforming your home today!
Happy automating!