
Introduction
Welcome to the exciting world of DIY smart home projects! As technology continues to advance, transforming your home into a smart, automated oasis has never been more accessible or affordable. Smart home projects offer numerous benefits, including increased convenience, enhanced security, and improved energy efficiency. Whether you want to control your lights with your voice, monitor your home remotely, or automate daily tasks, smart home technology can make your life easier and more enjoyable.
This guide will walk you through the top 10 DIY smart home projects perfect for beginners. Each project is designed to be simple to set up and provides detailed instructions to help you get started. Let’s dive into these fun and functional projects that will take your home automation to the next level.
Project 1: Automated Lighting

Explanation of the Project and Its Benefits
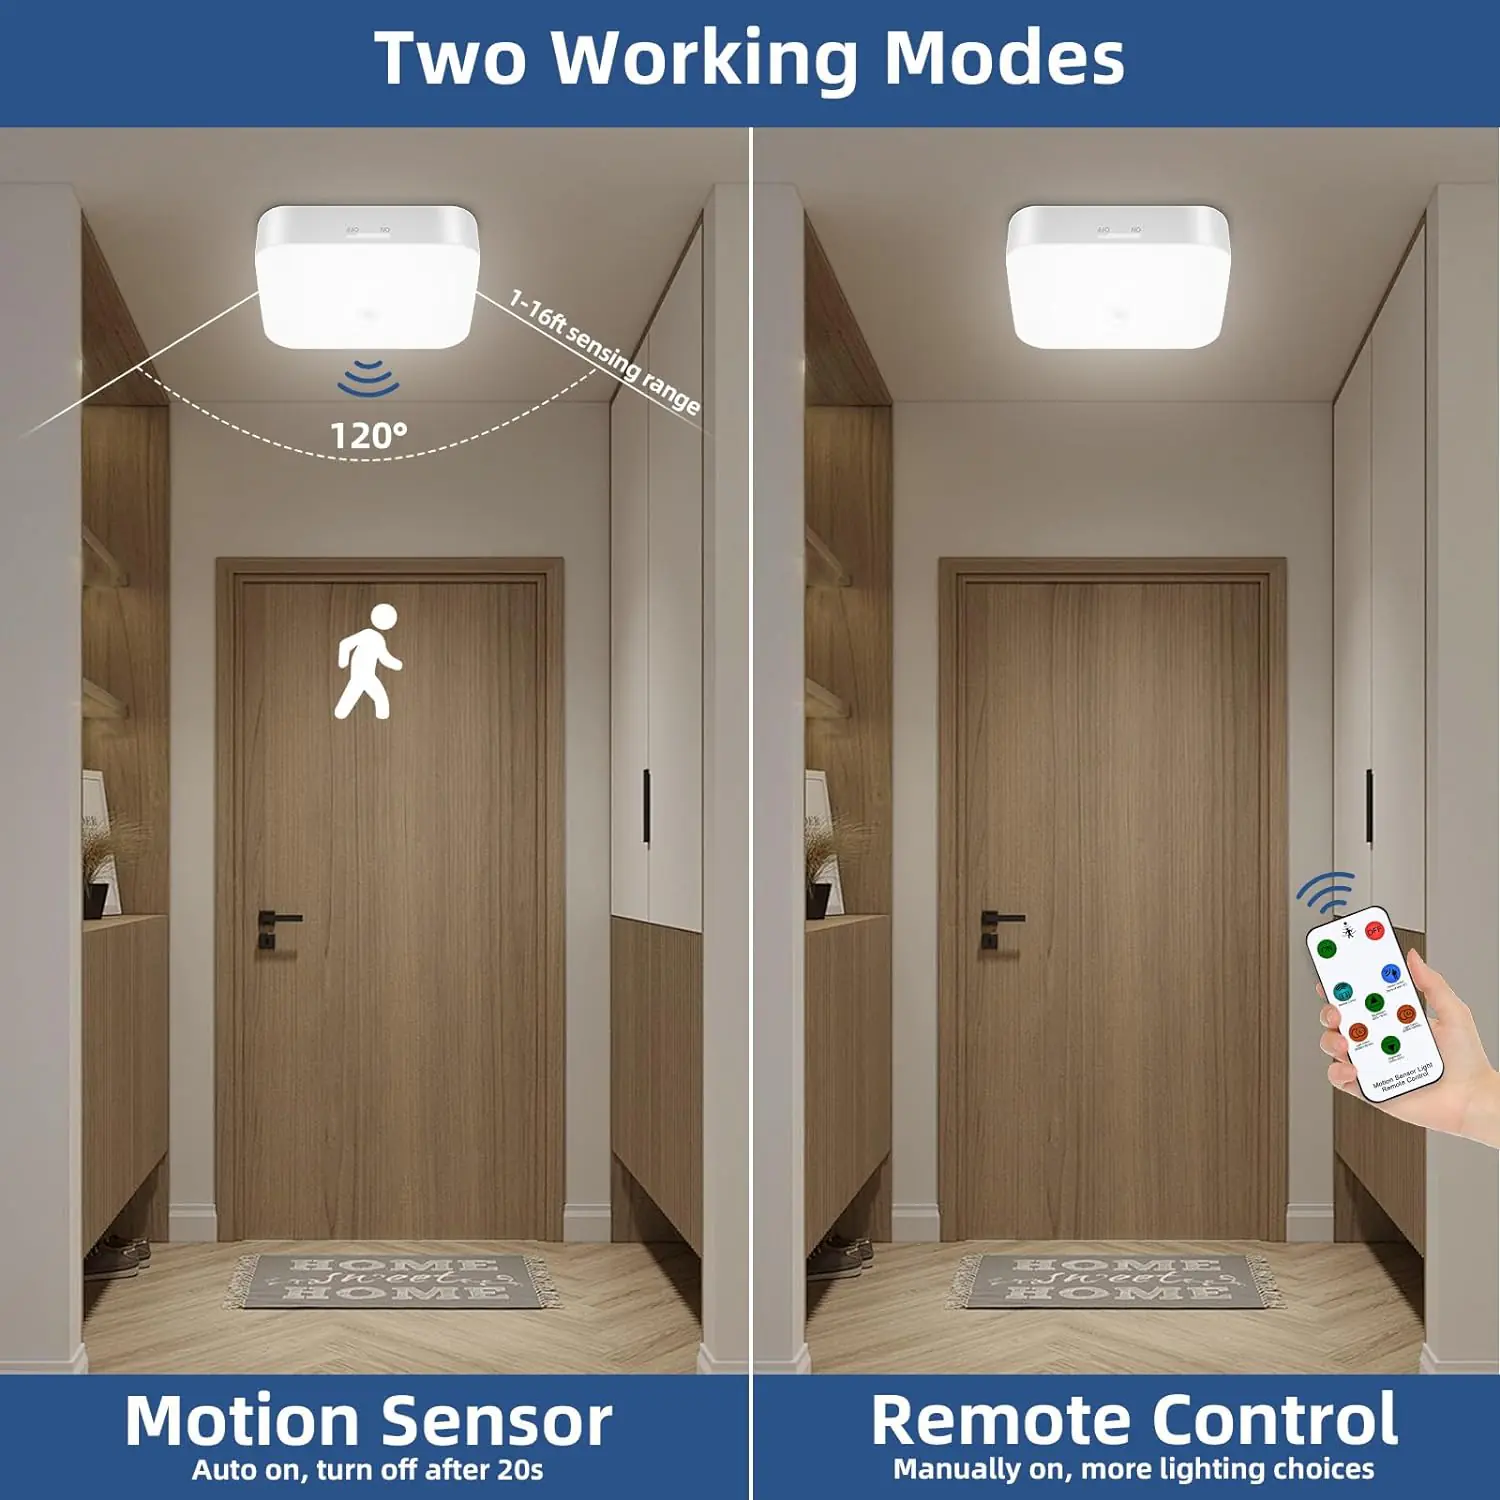
Automated lighting allows you to control your home’s lights remotely and set schedules to turn them on and off automatically. This project can enhance convenience, improve energy efficiency, and boost home security by making it look like someone is home even when you’re away.
Step-by-Step Instructions
- Choose Your Smart Bulbs or Switches:
- Select smart bulbs or switches compatible with your preferred smart home platform (e.g., Amazon Alexa, Google Home).
- Install Smart Bulbs:
- Replace your existing light bulbs with smart bulbs. Simply screw them in like regular bulbs.
- Install Smart Switches:
- Turn off the power at the breaker.
- Remove the existing switch and connect the smart switch following the manufacturer’s instructions.
- Turn the power back on.
- Set Up the Smart Bulbs/Switches:
- Download the corresponding app on your smartphone.
- Follow the app instructions to connect the bulbs/switches to your Wi-Fi network.
- Create Lighting Schedules:
- Use the app to set schedules for your lights to turn on and off automatically.
Tips for Optimizing Lighting Automation
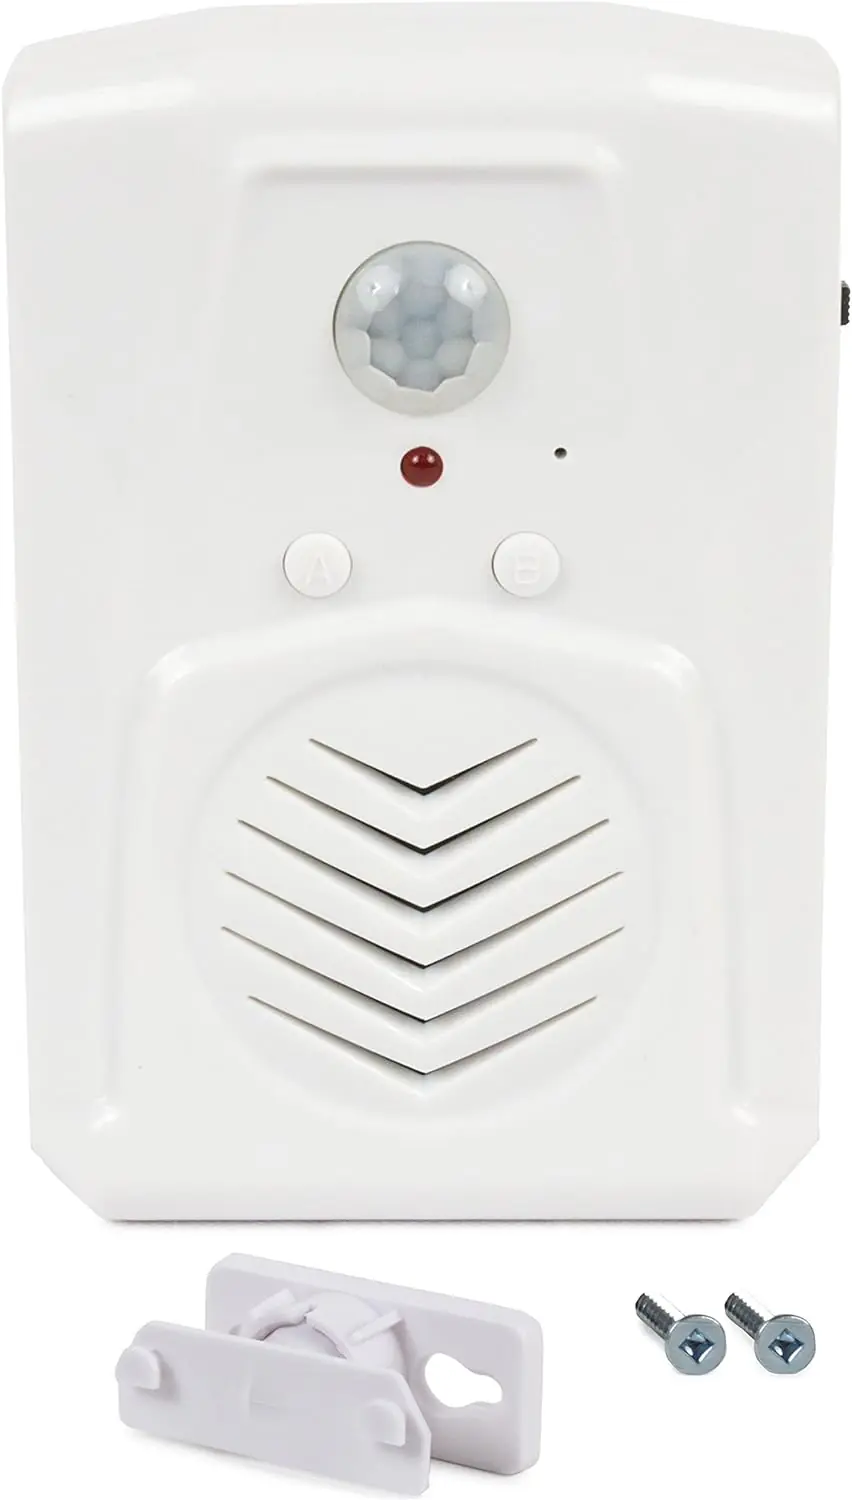
- Use Motion Sensors: Integrate motion sensors to automatically turn lights on when you enter a room.
- Set Scenes: Create custom lighting scenes for different activities (e.g., reading, watching TV).
- Energy Saving: Schedule lights to turn off when not needed to save on energy costs.
Project 2: Smart Thermostat Installation
Explanation of the Project and Its Benefits
A smart thermostat allows you to control your home’s heating and cooling remotely, set schedules, and create energy-saving routines. This can help you maintain a comfortable temperature while reducing energy usage and costs.
Step-by-Step Instructions
- Turn Off Power:
- Turn off the power to your HVAC system at the breaker.
- Remove Old Thermostat:
- Carefully remove your old thermostat and take note of the wiring configuration.
- Install Smart Thermostat:
- Follow the manufacturer’s instructions to install the new smart thermostat, connecting the wires to the corresponding terminals.
- Set Up the Thermostat:
- Download the thermostat’s app on your smartphone.
- Follow the app instructions to connect the thermostat to your Wi-Fi network.
- Create Energy-Saving Schedules:
- Use the app to set temperature schedules based on your daily routine.
Tips for Creating Energy-Saving Schedules
- Use Geofencing: Enable geofencing to adjust the temperature when you leave or approach your home.
- Seasonal Adjustments: Adjust your schedules seasonally to optimize comfort and energy savings.
- Monitor Usage: Use the app to monitor your energy usage and adjust settings accordingly.
Project 3: Smart Plugs for Appliances
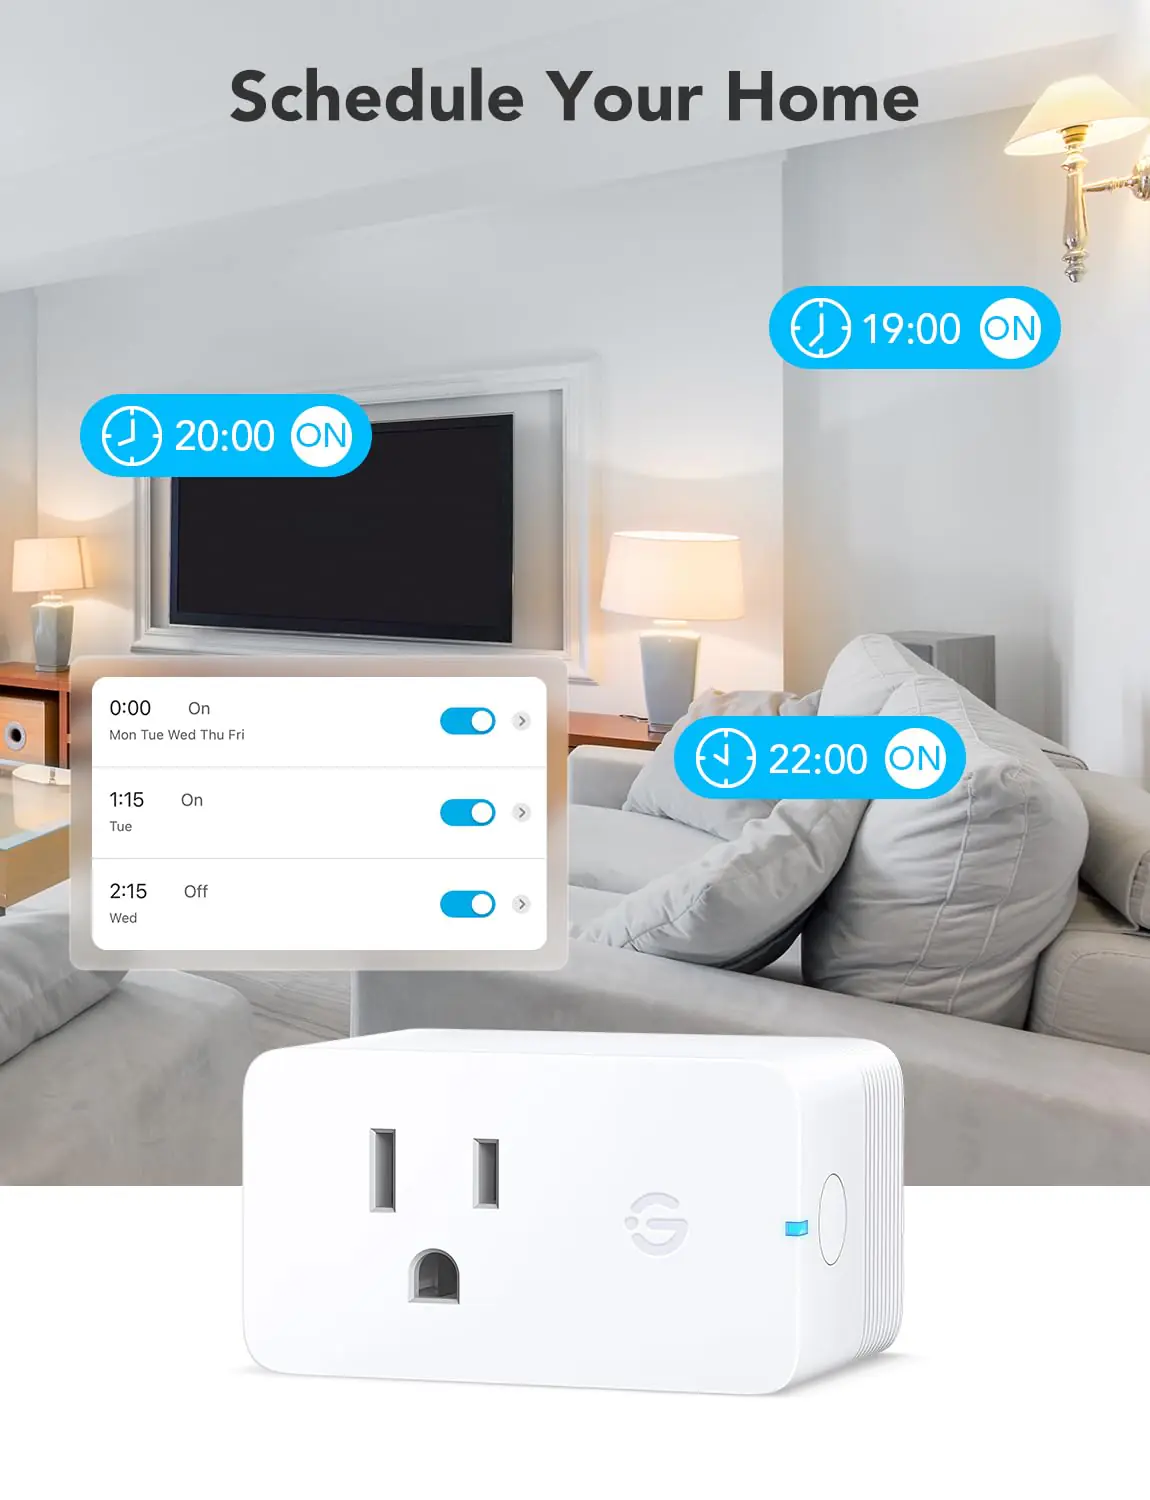
Explanation of the Project and Its Benefits
Smart plugs allow you to control appliances remotely and set schedules for them to turn on and off automatically. This can add convenience and help reduce energy consumption.
Step-by-Step Instructions
- Choose Smart Plugs:
- Select smart plugs that are compatible with your smart home platform.
- Plug In Your Appliances:
- Plug your appliances (e.g., coffee maker, fan, lamp) into the smart plugs.
- Set Up the Smart Plugs:
- Download the corresponding app on your smartphone.
- Follow the app instructions to connect the smart plugs to your Wi-Fi network.
- Create Schedules:
- Use the app to set schedules for your appliances to turn on and off automatically.
Examples of Appliances to Automate with Smart Plugs
- Coffee Maker: Schedule your coffee maker to start brewing before you wake up.
- Fans: Automate fans to turn on during hot hours of the day.
- Lamps: Set lamps to turn on at sunset and off at bedtime.
Project 4: Smart Security Camera Setup
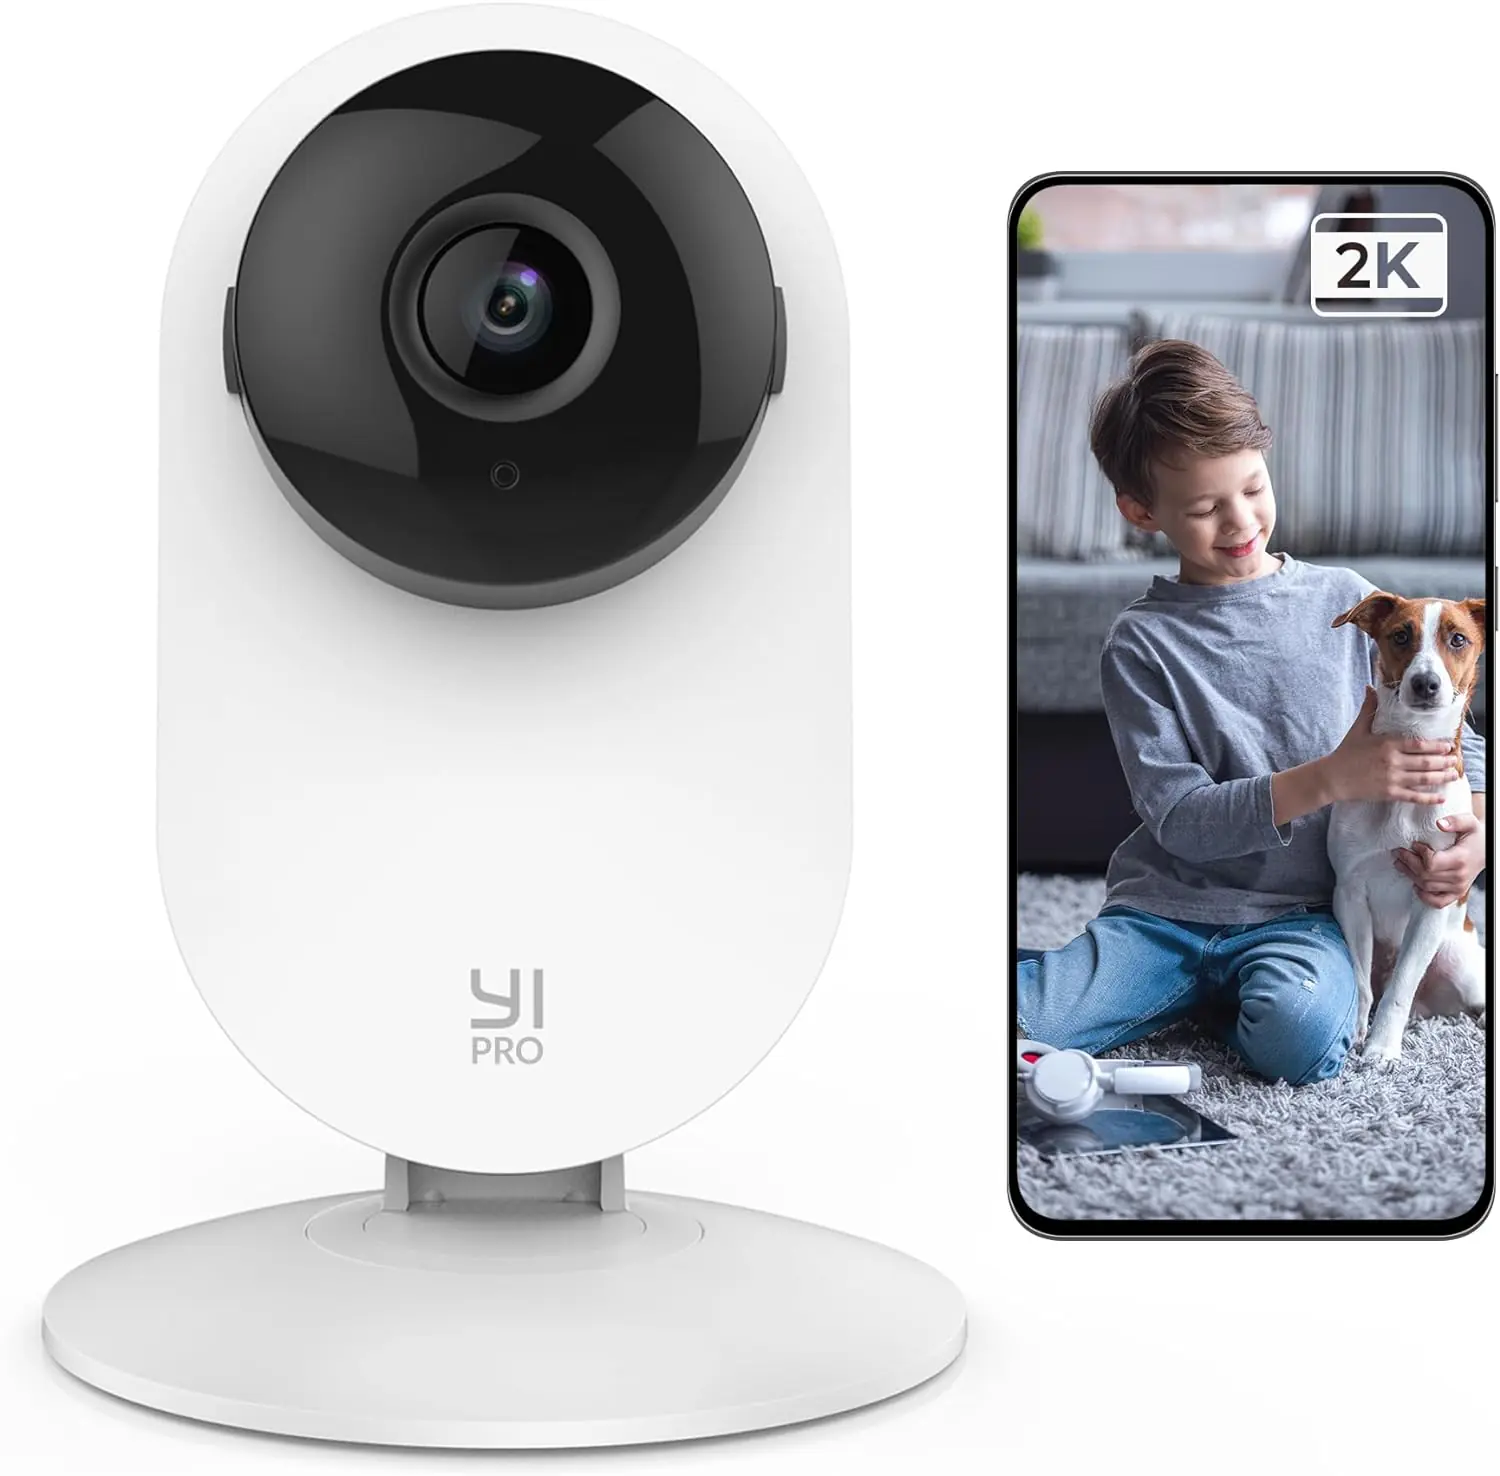
Explanation of the Project and Its Benefits
Smart security cameras enhance your home’s security by allowing you to monitor your property remotely and receive alerts for any unusual activity. They provide peace of mind and can help deter potential intruders.
Step-by-Step Instructions
- Choose Your Smart Cameras:
- Select smart security cameras that suit your needs (indoor, outdoor, motion detection).
- Install the Cameras:
- Follow the manufacturer’s instructions to mount and install the cameras in the desired locations.
- Set Up the Cameras:
- Download the camera’s app on your smartphone.
- Follow the app instructions to connect the cameras to your Wi-Fi network.
- Configure Settings:
- Adjust the camera settings, such as motion detection sensitivity and alert preferences.
Tips for Positioning Cameras for Optimal Coverage
- Entry Points: Position cameras at main entry points, such as doors and windows.
- High Traffic Areas: Place cameras in high traffic areas to capture activity.
- Height: Mount cameras at a height that provides a clear view while being out of reach.
Project 5: Voice-Activated Assistant
Explanation of the Project and Its Benefits
A voice-activated assistant, like Amazon Echo or Google Nest, allows you to control your smart home devices using voice commands. It adds convenience and can perform various tasks, such as playing music, setting reminders, and answering questions.
Step-by-Step Instructions
- Choose Your Smart Speaker:
- Select a smart speaker that is compatible with your smart home platform.
- Set Up the Speaker:
- Plug in the smart speaker and follow the manufacturer’s instructions to set it up.
- Connect to Your Wi-Fi Network:
- Use the app to connect the smart speaker to your Wi-Fi network.
- Start Using Voice Commands:
- Begin using voice commands to control your smart home devices and access information.
Examples of Commands and Routines to Try
- Commands: “Turn on the living room lights,” “Set the thermostat to 72 degrees,” “Lock the front door.”
- Routines: Create routines to automate multiple actions with a single command, such as “Good morning” to turn on lights, start the coffee maker, and provide a weather update.
Project 6: Smart Lock Installation
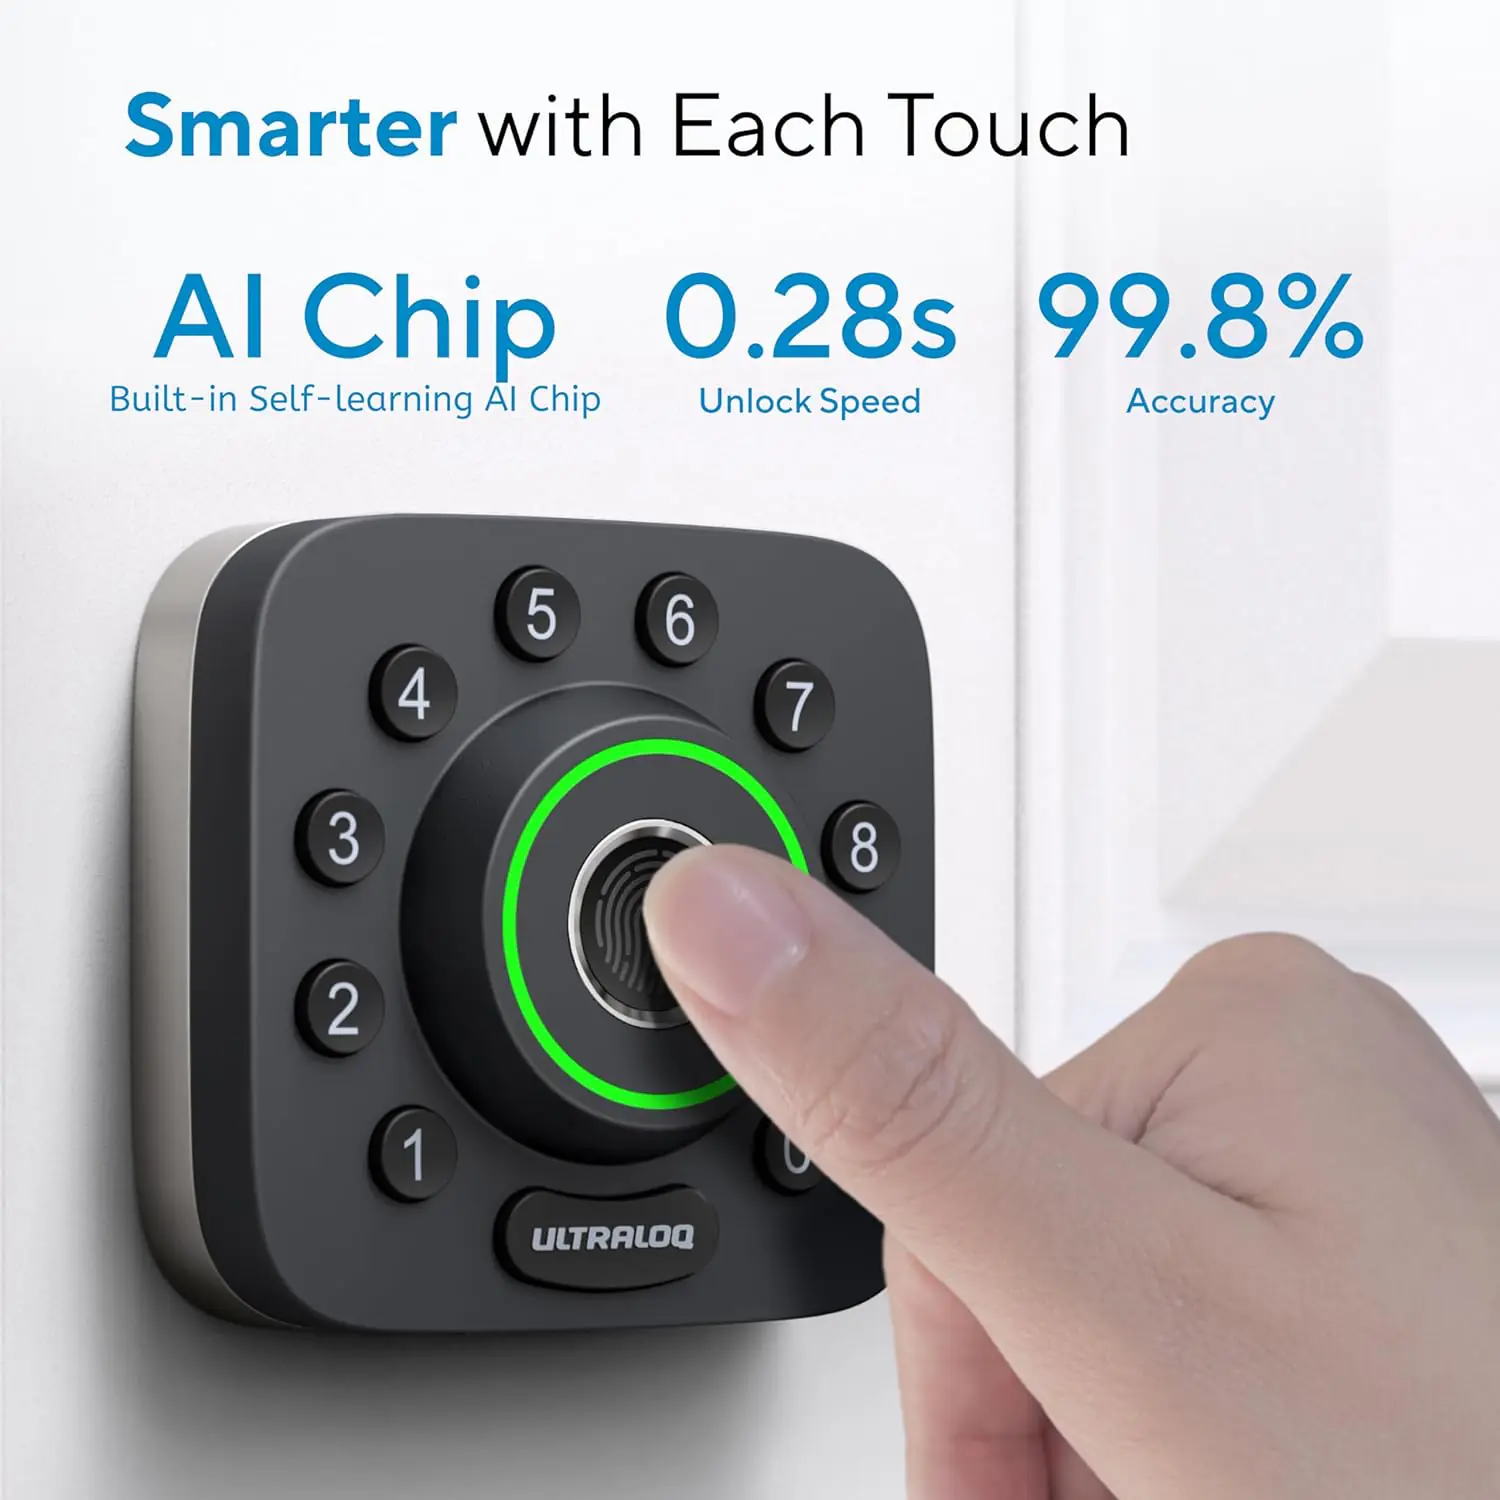
Explanation of the Project and Its Benefits
A smart lock enhances home security by allowing you to lock and unlock your door remotely. It can also provide keyless entry, making it more convenient for family members and guests.
Step-by-Step Instructions
- Choose Your Smart Lock:
- Select a smart lock that is compatible with your door and smart home platform.
- Remove the Existing Lock:
- Follow the manufacturer’s instructions to remove your existing lock.
- Install the Smart Lock:
- Install the smart lock following the manufacturer’s instructions, ensuring all components are securely attached.
- Set Up the Lock:
- Download the smart lock’s app on your smartphone.
- Follow the app instructions to connect the lock to your Wi-Fi network.
- Test the Lock:
- Test the lock to ensure it works correctly, both manually and remotely.
Tips for Integrating the Smart Lock with Other Smart Home Devices
- Security Cameras: Integrate the smart lock with security cameras to capture video when the door is unlocked.
- Voice Assistant: Use your voice assistant to lock and unlock the door with voice commands.
- Automation Routines: Create routines that automatically lock the door at a certain time or when you leave the house.
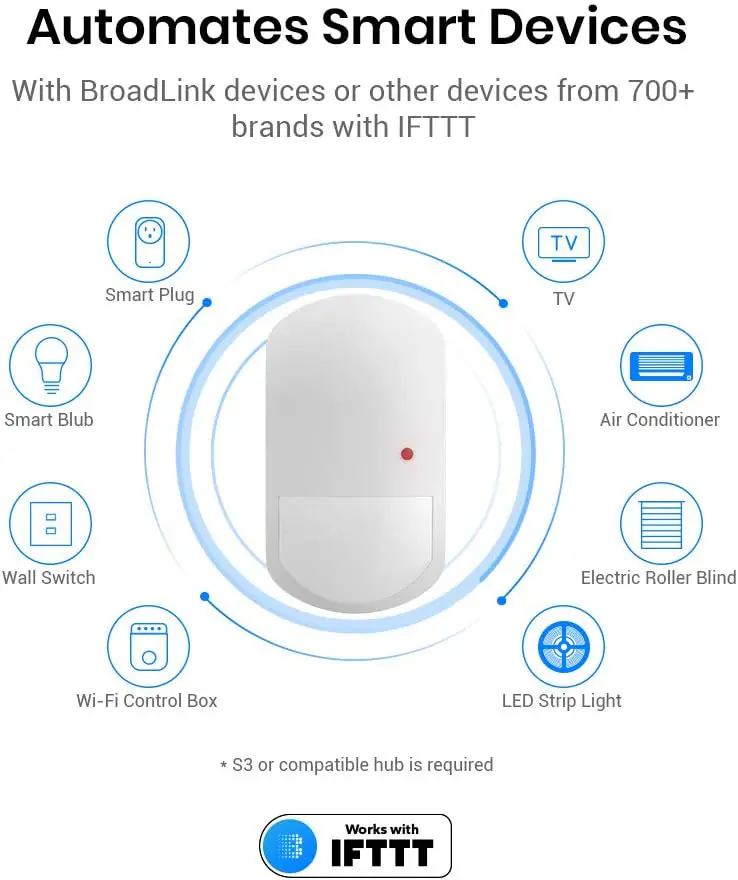
Project 7: Smart Home Hub Setup
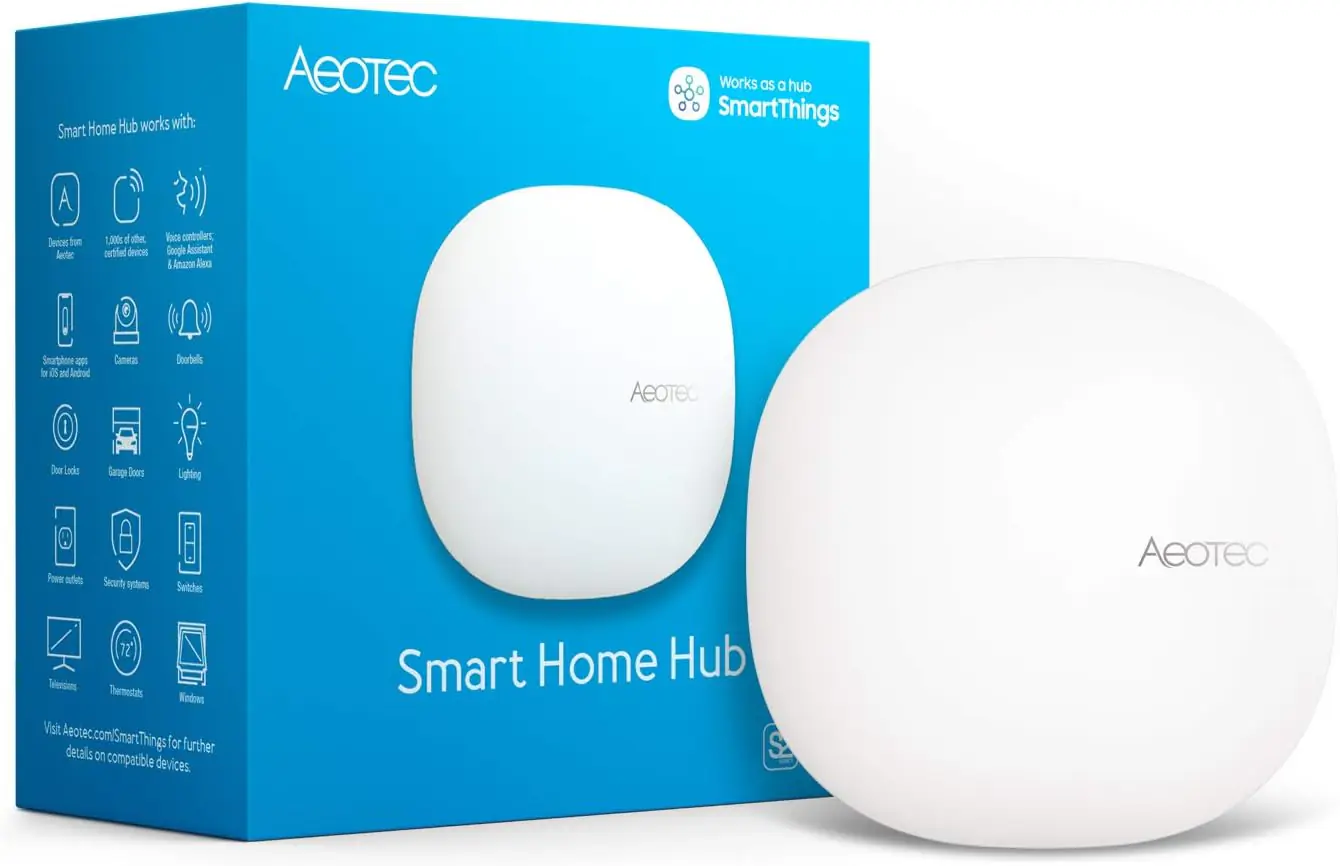
Explanation of the Project and Its Benefits
A smart home hub serves as the central control unit for all your smart home devices, allowing them to communicate and work together seamlessly. It simplifies device management and enhances automation capabilities.
Step-by-Step Instructions
- Choose Your Smart Home Hub:
- Select a smart home hub that is compatible with your devices and preferred platform (e.g., Amazon Echo, Google Nest Hub).
- Set Up the Hub:
- Plug in the hub and follow the manufacturer’s instructions to set it up.
- Connect Devices:
- Use the hub’s app to connect and manage all your smart home devices.
- Create Automation Rules:
- Set up automation rules and routines to streamline your smart home experience.
Tips for Connecting and Managing Multiple Smart Devices
- Grouping Devices: Group similar devices (e.g., all lights in a room) for easier control.
- Automation: Use automation rules to coordinate actions between different devices.
- Voice Control: Enable voice control for easier and more intuitive device management.
Project 8: Smart Irrigation System
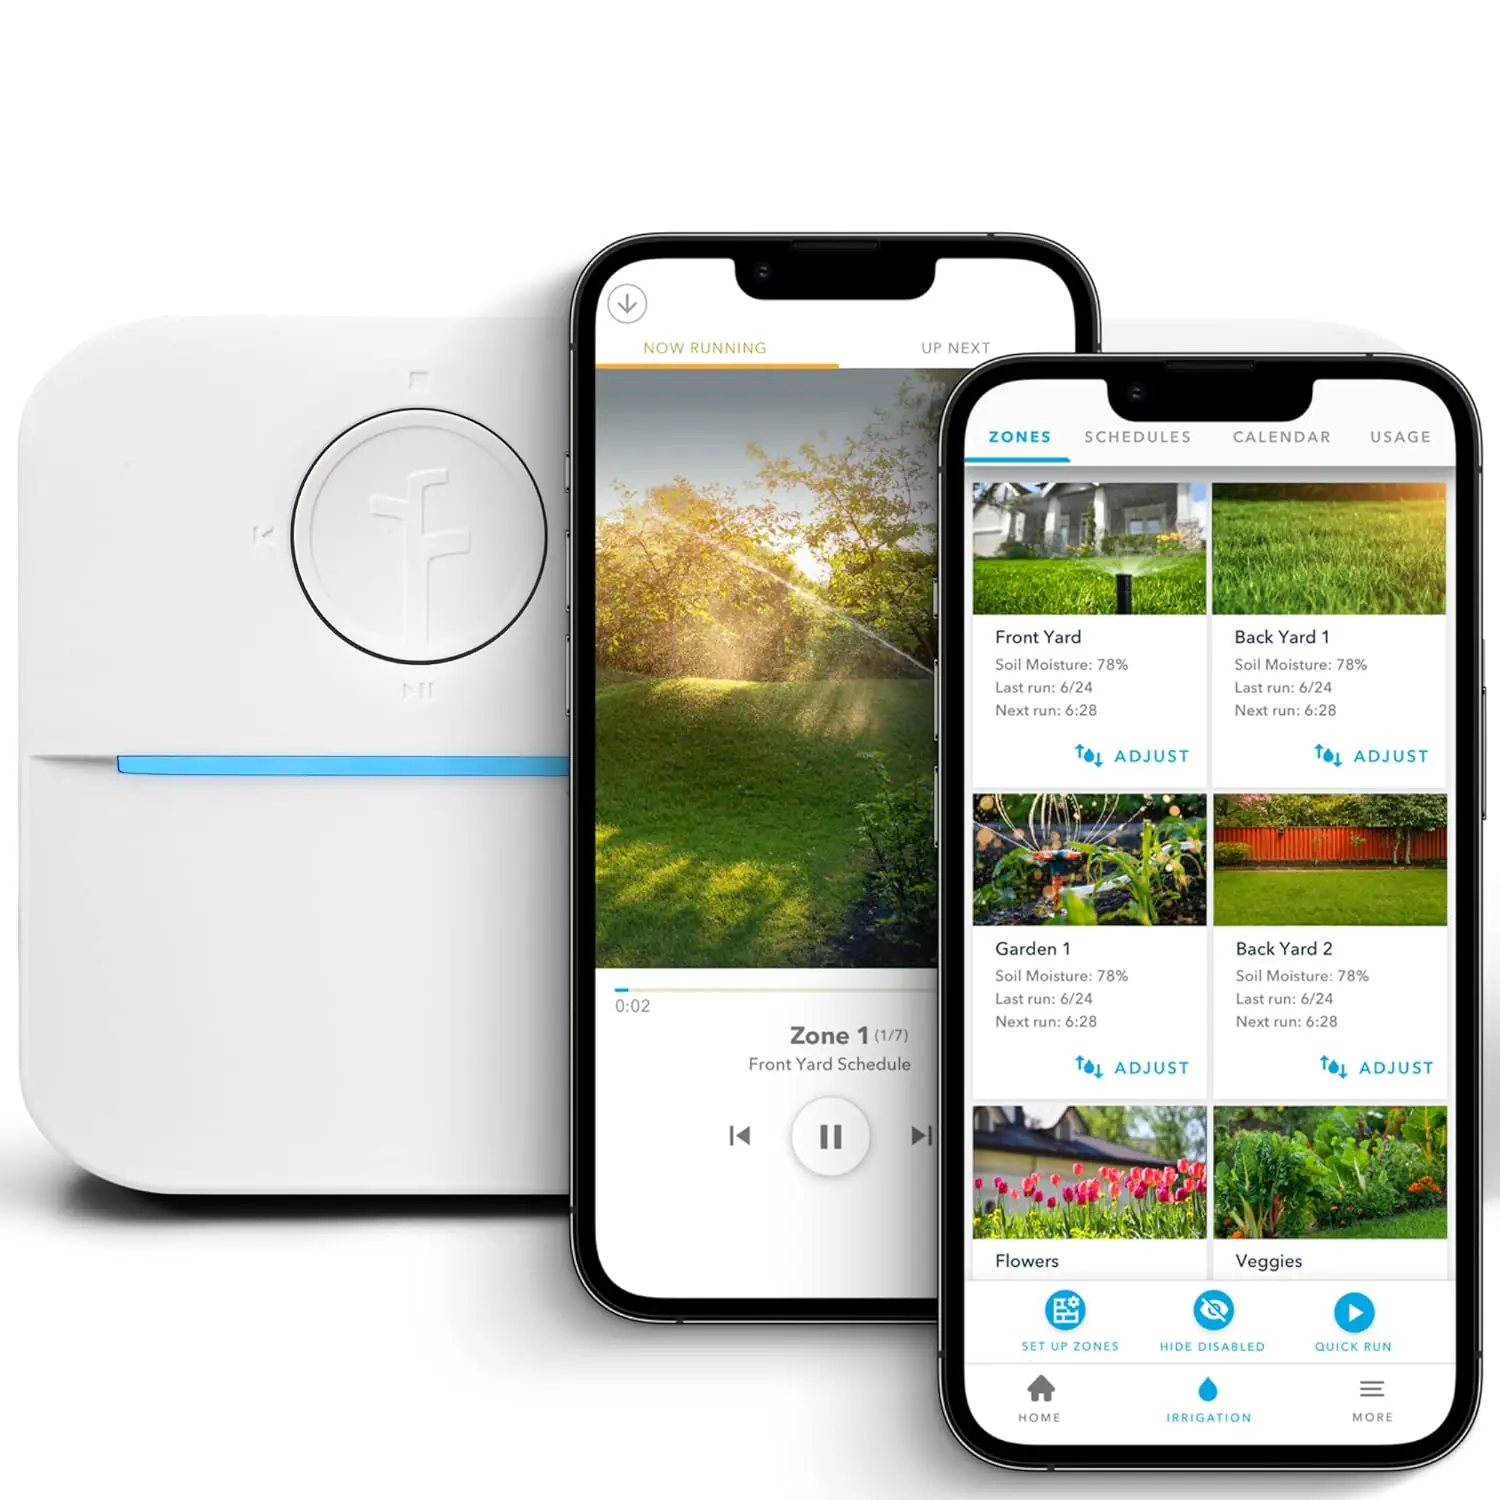
Explanation of the Project and Its Benefits
A smart irrigation system allows you to automate your garden watering schedule based on weather conditions and soil moisture levels. This ensures your plants receive the right amount of water while conserving resources.
Step-by-Step Instructions
- Choose Your Smart Irrigation Controller:
- Select a smart irrigation controller that suits your garden’s needs.
- Install the Controller:
- Follow the manufacturer’s instructions to install the controller, connecting it to your irrigation system.
- Set Up the Controller:
- Download the controller’s app on your smartphone.
- Follow the app instructions to connect the controller to your Wi-Fi network.
- Create Watering Schedules:
- Use the app to create watering schedules based on weather forecasts and soil moisture levels.
Tips for Creating Watering Schedules
- Weather-Based Scheduling: Adjust your watering schedules based on local weather conditions to avoid over or under-watering.
- Soil Moisture Sensors: Integrate soil moisture sensors to provide real-time data for more accurate watering.
- Seasonal Adjustments: Modify your watering schedules seasonally to meet your plants’ changing needs.
Project 9: Smart Garage Door Opener
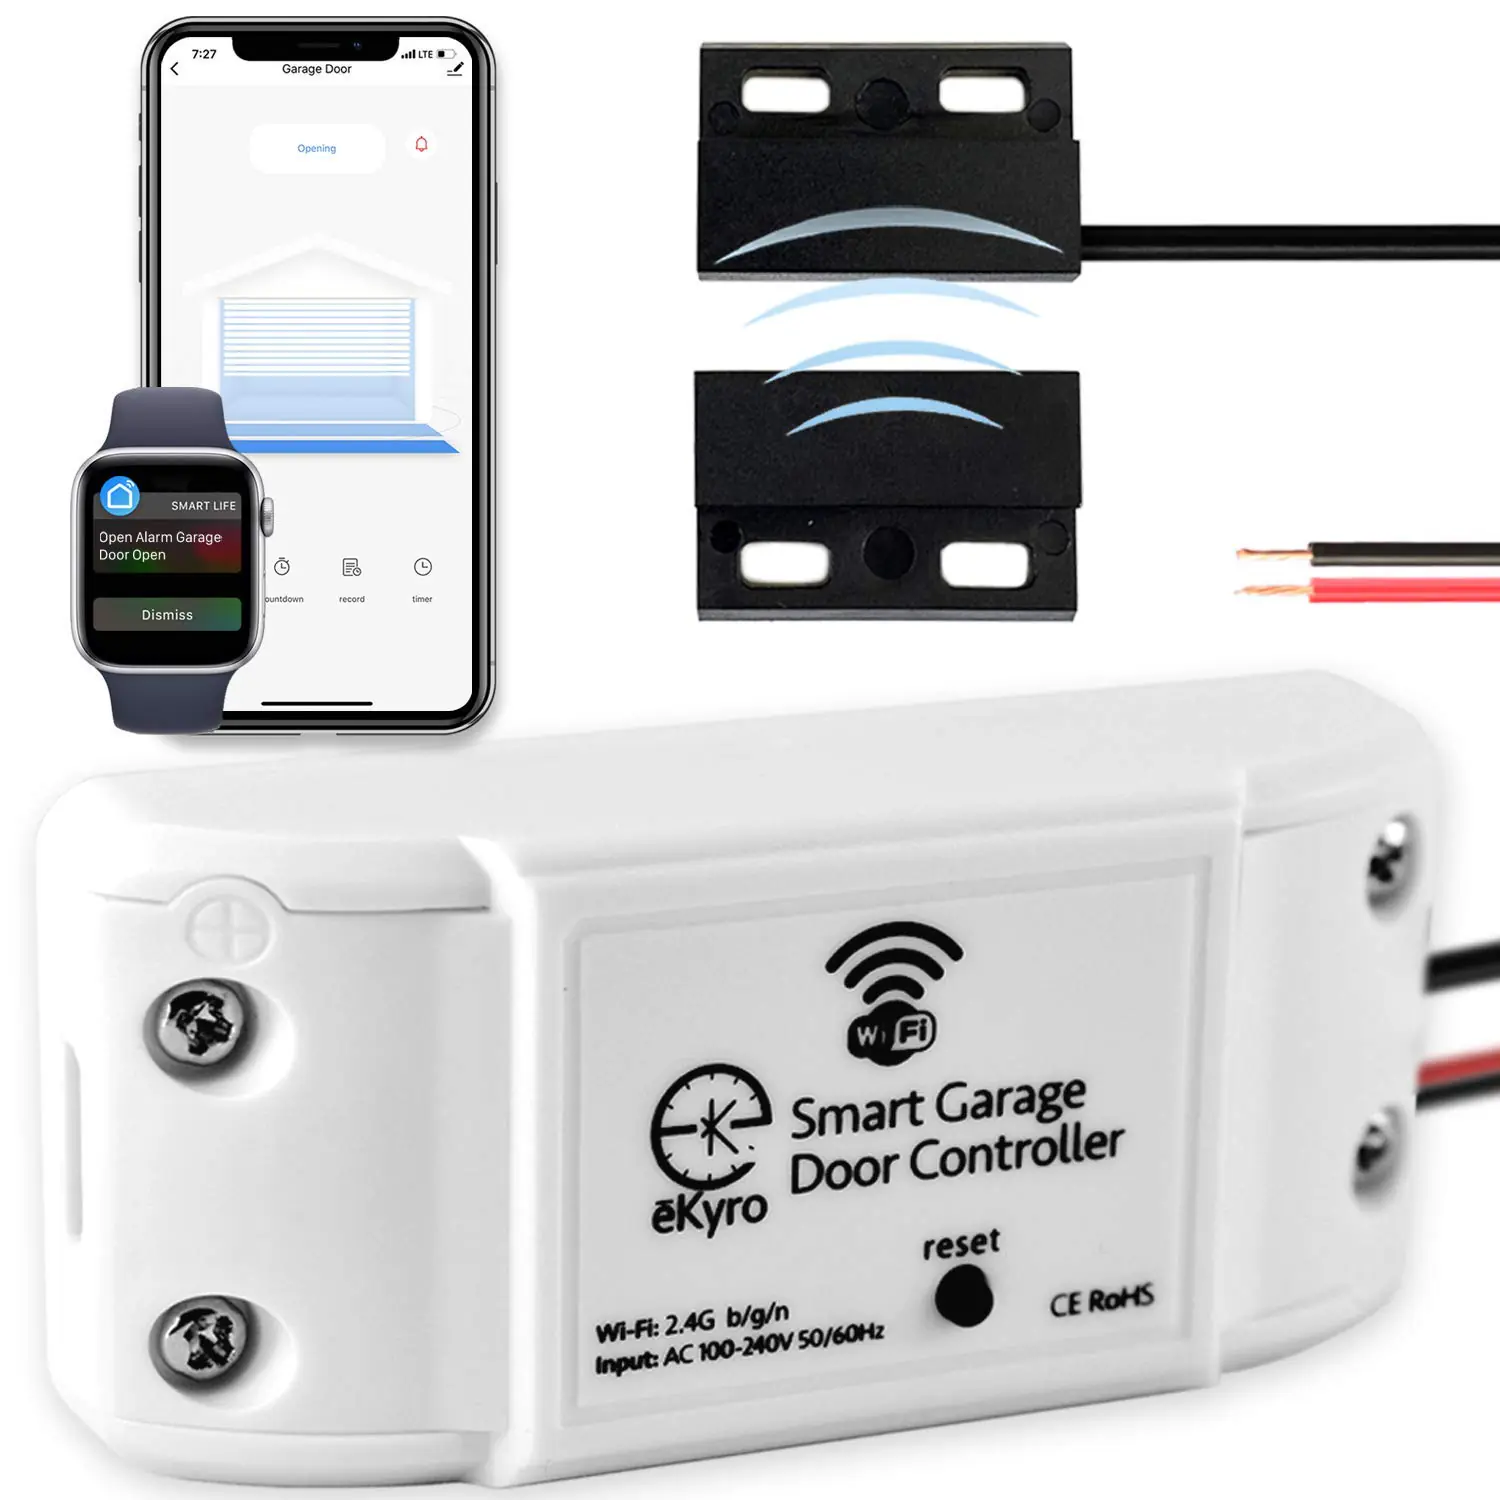
Explanation of the Project and Its Benefits
A smart garage door opener allows you to control your garage door remotely, adding convenience and enhancing security. You can open or close the garage door from anywhere, receive alerts if it’s left open, and integrate it with other smart home devices.
Step-by-Step Instructions
- Choose Your Smart Garage Door Opener:
- Select a smart garage door opener compatible with your existing garage door system and smart home platform.
- Install the Opener:
- Follow the manufacturer’s instructions to install the smart garage door opener.
- Set Up the Opener:
- Download the opener’s app on your smartphone.
- Follow the app instructions to connect the opener to your Wi-Fi network.
- Test the Opener:
- Test the opener to ensure it works correctly, both manually and remotely.
Tips for Integrating the Garage Door Opener with Your Smart Home System
- Security Cameras: Integrate the garage door opener with security cameras to monitor the garage area.
- Voice Commands: Use voice commands to open or close the garage door via your voice assistant.
- Automation Routines: Create routines that automatically close the garage door at night or when you leave the house.
Project 10: Smart Home Automation Routines
Explanation of the Project and Its Benefits
Smart home automation routines allow you to create sequences of actions that are triggered automatically based on specific conditions or schedules. This enhances convenience and efficiency by automating everyday tasks.
Step-by-Step Instructions
- Choose Your Smart Home Platform:
- Ensure you have a smart home hub or platform that supports automation routines (e.g., Amazon Alexa, Google Home, Apple HomeKit).
- Set Up Routines:
- Use the app to create routines that combine multiple actions. For example, you can create a routine that turns off all lights, locks the doors, and adjusts the thermostat when you say “Goodnight.”
- Test and Adjust:
- Test your routines to ensure they work as intended. Make any necessary adjustments to optimize performance.
Examples of Useful Routines to Implement
- Good Morning: Turn on lights, start the coffee maker, and provide a weather update.
- Goodnight: Turn off lights, lock doors, and adjust the thermostat.
- Away Mode: Turn off lights, adjust the thermostat, and activate security cameras when you leave the house.
Conclusion
DIY smart home projects offer a fantastic way to enhance your living space with technology, making your home more convenient, secure, and efficient. By following the step-by-step instructions in this guide, you can confidently tackle these projects and transform your home into a smart haven.
Remember, starting small and gradually expanding your smart home system is key to success. Don’t hesitate to explore more advanced automation as you become more comfortable with the technology.
Ready to get started? Check out our recommended smart home kits on Amazon and begin your DIY smart home journey today!
Happy automating!